By Julie Piatt
So far this week, I’ve shared with you some super delicious and healthy PlantPowered, gluten-free holiday meal recipe staples — Stuffing, Cauliflower Mashed Potatoes and Mushroom Gravy. But what about dessert? How can I satisfy my sweet tooth — and that of my friends and family –without the eggs, butter, flour and refined sugar?
Impossible! Not so fast. Not only can it be done, you will be amazed at what you can make that will hit the spot and at the same time nourish the body and spirit.
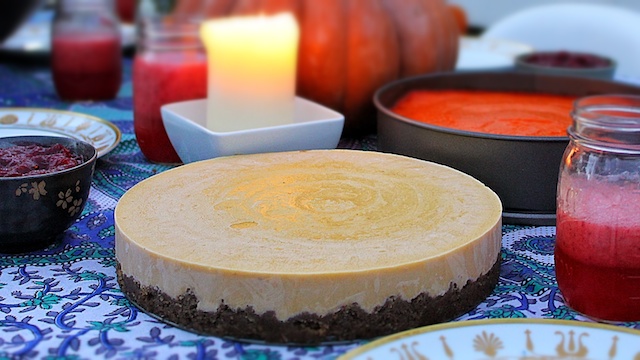
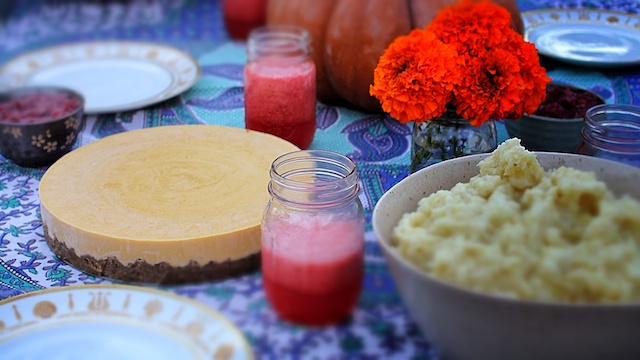
Introducing Almost Raw Pumpkin Pie — our fourth in this series of easy to prepare, nutritious and delicious PlantPowered holiday recipes we are publishing to supplement this week’s podcast discussion (in case you missed it, be sure to tune in for tips and strategies for navigating holiday treacheries by clicking here: RRP #60: How To Maintain Healthy Nutrition & Optimal Physical, Emotional & Spiritual Health During the Holidays ).
This is a tasty and original variation on the classic pumpkin pie served frozen so it mimics an ice cream pie. We love it. Our friends love it. And our kids don’t just love eating it, they love making it with us too.
ALMOST RAW VEGAN & GLUTEN-FREE, GRAIN-FREE PUMPKIN PIE
Serves 10-12
Filler Ingredients
4 cups of fresh mashed pumpkin
2 cans of coconut milk refrigerated until firm
1 cup of organic maple syrup*
2 tablespoons pumpkin pie spice
*If you’re not keen on using maple syrup for the recipe, replace with either 5 dates, or blue agave (same quantity)
Crust Ingredients
2 cup raw organic walnuts
8-10 organic soaked & pitted dates
1/2 cup of ground flax seeds
1 pinch sea salt
1/2 tablespoon coconut oil
Preparation
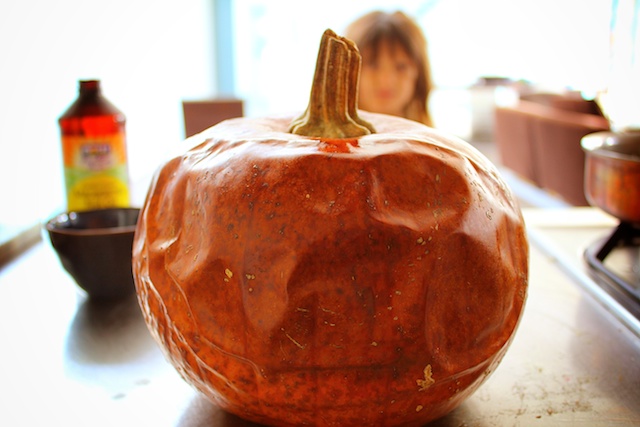
1. Place a small ENTIRE pumpkin as is — with stem intact — inside the oven on a wire rack. Yes, I know it sounds weird — the whole pumpkin? You heard me right. Trust me, this will be awesome.
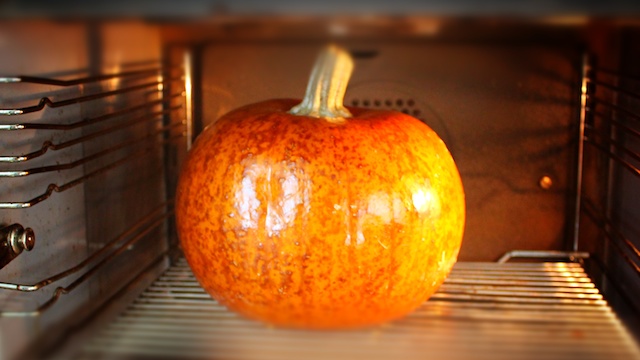
2. Bake the pumpkin at 350 degrees until soft. This will take approximately 45 minutes (or less if you have a convection oven).
3. While the pumpkin bakes in the oven, pulse the walnuts in a food processor until they are mealy in texture. Add a pinch of sea salt and pulse a few times more.
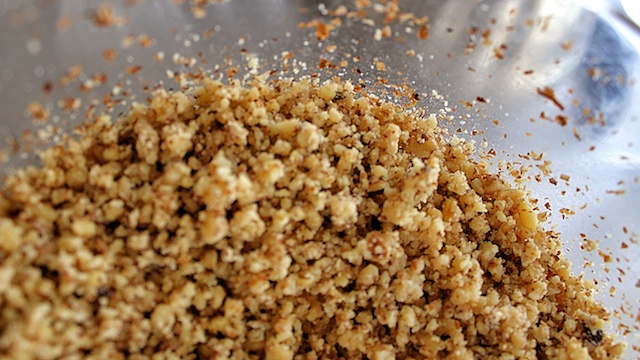
4. With the processor motor running, add the soaked dates (make sure you remember to remove the pits) one at a time until the mixture forms a ball on one side of the processor.
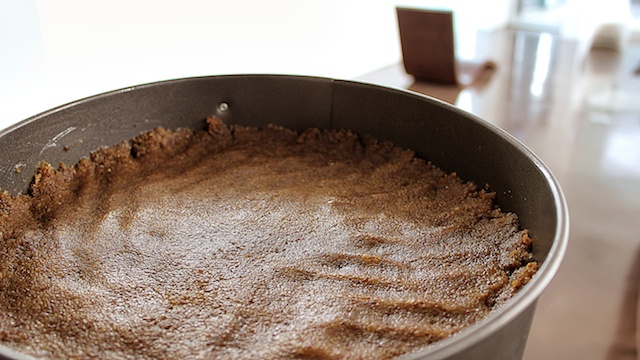
5. Wipe the bottom and edges of a 13” spring form pan with coconut oil — not too much — just a smidgen to cover the surface. This is simply to avoid sticking and has nothing to do with flavor so let’s avoid adding calories we don’t need!
6. Press the mixture from the food processor evenly across the bottom of the pan to form a crust, then place in the freezer.
7. Remove the pumpkin from the oven and place on a cutting surface. It should look something like this:
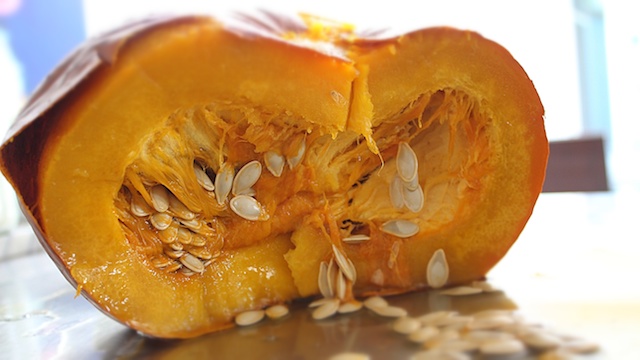
8. Carefully slice out a section of the pumpkin, remove the skin and scoop out the seeds.
9. Repeat until you have 4 cups of pumpkin mash. Place this cooked pumpkin mash in your Vitamix blender (or BlendTec or other high powered blender). Using the plunger, pureé until smooth. If you don’t have a Vitamix or similar high-powered blender you can use your typical kitchen blender, but you won’t quite achieve the smooth consistency we’re looking for. If this is the case, a Vitamix might be something you want to put on your holiday list. We can’t live without ours. I understand that it is an expensive item. But if you use the banner ad on this site or click HERE to order, you can get free shipping. Plus they have some awesome more affordable refurbished versions to fit a more modest budget.
10. Pour the blended pumpkin mash pureé into a medium mixing bowl to cool.
11. Remove both cans of coconut cream from the refrigerator, turn upside down and open. Pour off the liquid at the top and scoop out the firm cream adding it to the pumpkin pureé. Mix well.
12. Add the maple syrup (or alternatively the dates or blue agave — see above) and pumpkin pie spice to the mix.
13. Return mixture to the Vitamix (or other blender) and blend until well incorporated and smooth.
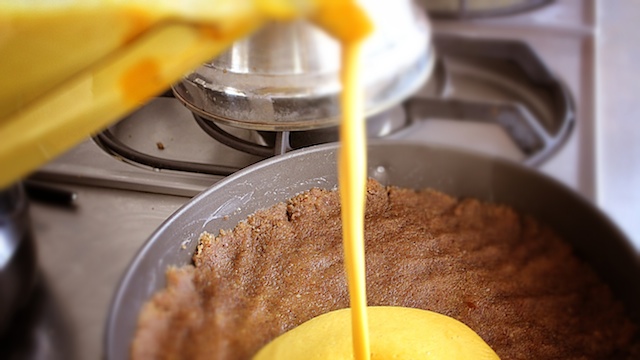
14. Remove pie crust from the freezer. Pour smooth pureé filling into the springform pan.
15. With a spatula, spiral a design into the mixture starting at the center and working your way outward.
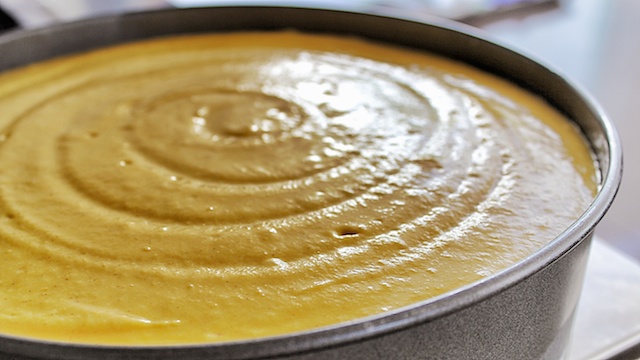
16. Place pie in the freezer for at least 3 hours. Remove from the freezer one hour before serving.
17. If you like, sprinkle some shredded coconut flakes across the top for added flavor.
Serve and Amaze!
Enjoy plant-based recipes or just love great food? Be sure to follow me on Instagram and Twitter !
Namaste,
Julie
P.S. – Want to learn more about our plant-based lifestyle and how to implement it into your life? Check out our Jai Seed eCookbook– 77 pages of amazing, healthy & easy to prepare PlantPowered recipes certain to sate even the most finicky of palates.
Want even more? Then be sure to check out The Ultimate Guide to Plant-Based Nutrition – the online course Rich and I created in partnership with MindBodyGreen.com. 3.5 hours of online streaming video content broken up into segmented topics, plus an online community and tons of downloadable kitchen, shopping & dietary tools plus a slew of recipes. Makes a great holiday gift too!


You didn’t mention the flax seeds in the preparation. Am I to assume I grind them and add them to the crust mix, while in the processor?
I also wanted to know about the ground flax. When do I add it?
And serve with a dollop of cream.. Just kidding, great recipe guys can’t wait to try it!
Bought all ingredients today to be ready for christmas. Can´t wait!
Easy recipe without a lot of ingredients. Love this!
Clearly people if the flax seeds are under the ‘crust ingredients’, you add them as part of the crust prep. Yeesh Americans, what can ya do…….